
Web Component - Get Paid by Google Pay
Implement Google Pay with a web component in your web page to allow your customers to complete a payment flow with ease.
👋 Introduction
In this guide you'll learn how to add the Google Pay button to your website!
This guide will walk you through the process of adding the Google Pay button to your website using NoFrixion Web Components. With this seamless integration, you'll be able to offer your customers a convenient and secure way to make payments using Google Pay on your website.
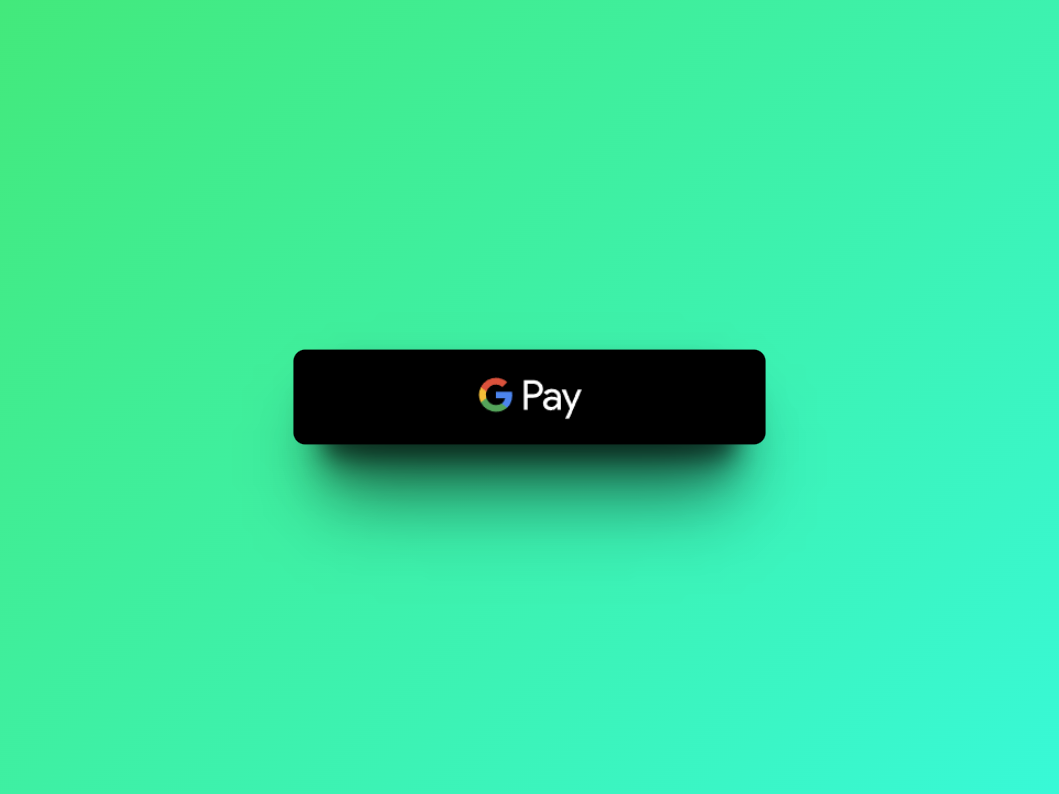
This is how the Google Pay button looks like!
Note that the URLs provided in this guide point to the Production environment, so make sure you're using the correct one (sandbox/production) accordingly.
| Sandbox | Production | |
|---|---|---|
| API | https://api-sandbox.nofrixion.com | https://api.nofrixion.com |
💻 Implementation Guide
ℹ️ Key concepts
💰 Payment Request
A Payment Request is an object that represents the merchant's intention to get paid, similar to an invoice. It contains information such as the amount, currency, and available payment methods. Since the Google Pay button is the UX/UI representation of a Payment Request, you'll need to create one via an API call from your server, which will be used as a parameter when adding the Google Pay button to your website.
🔗 Google Pay Registration
Registration is a crucial step in the process of implementing Google Pay on your website. It ensures that your company and domain is authorised to use Google Pay, preventing unauthorised domains from implementing the payment method. To register for Google pay, you simply need to provide a few screenshots of your checkout process and domain URL. Once approved by Google you can start using NoFrixion Web Component Google Pay.
🔐 Security
Due to the high security standards required for handling transactions, the NoFrixion Google Pay button provides a convenient way to handle sensitive payment details without storing them on merchant systems. When processing an Google Pay payment, our library communicates directly with our payment gateway, so merchant systems don't need to process or store card details.
📃 Preconditions
🌐 Registration with Google
To implement Google Pay on your website, you must first register your company and domain with Google. This is an essential security measure to ensure that only authorised domains can accept Google Pay transactions. You can register here.
Requirements for Google Pay Registration
- Website/Domain URL - top-level domain or sub-domain where you will accept Google Pay (e.g., classbooker.com or pay.classbooker.com)
- Screenshots of your checkout process.
You'll need to provide the 5 screenshots below to get approved for Google Pay.
- Item selection - When a user is browsing an item or service.
- Pre-purchase screen - When a user is ultimately ready to make a purchase.
- Payment method screen - When a user selects Google Pay as their payment method.
- Google Pay API payment screen - When a user is shown the payment info that they’ve saved to Google Pay.
- Post-purchase screen - When a user has made a successful purchase.
Once the registration process is complete, you will be eligible for Google Pay payments. Please send us the MerchantID to [email protected]. The MerchantID is used to initate a Google Pay payment. Google use's your domain and MerchantID to verify authorised merchants. Without completing this process, Payments will fails.
💰 Payment Request
As mentioned in the Key Concepts, the NoFrixion Pay Element needs to be linked with a payment request. To create a Payment Request, you need to execute an API call from your system so that you can pass the payment request ID to the Web Component. If you want to know how to do this, please click click here.
Ensure that you have created a Payment Request with the "Google Pay" method included as a PaymentMethodType.
To make your life easier, here's a cURL command that you can copy and paste to create a Payment Request.
You'll need to replace {YOUR_MERCHANT_TOKEN} with your actual merchant token. Here is a link to creating your own merchant token.
curl -s --location --request POST 'https://api.nofrixion.com/api/v1/paymentrequests' \
  --header 'Authorization: Bearer {YOUR_MERCHANT_TOKEN}' \
  --header 'Content-Type: application/x-www-form-urlencoded' \
  --data-urlencode 'amount=10.99' \
  --data-urlencode 'Currency=EUR' \
  --data-urlencode 'PaymentMethodTypes=googlePay'
curl -s --location --request POST 'https://api-sandbox.nofrixion.com/api/v1/paymentrequests' \
--header 'Authorization: Bearer {YOUR_MERCHANT_TOKEN}' \
--header 'Content-Type: application/x-www-form-urlencoded' \
--data-urlencode 'amount=10.99' \
--data-urlencode 'Currency=EUR' \
--data-urlencode 'PaymentMethodTypes=googlePay'🛠️ Step-by-step
-
The entire Google Pay logic, including security and rendering, is inside the NoFrixion Javascript library. You can find this library in NoFrixion's CDN at https://cdn.nofrixion.com/nofrixion-nextgen.js. Add this library to your
<head>tag.<head> <meta charset="UTF-8" /> <!-- 👇🏻 Add NoFrixion JavaScript library --> <script src="https://cdn.nofrixion.com/nofrixion-nextgen.js"></script> </head> -
Add the Google Pay button to your website by using the
<nofrixion-google-pay-button />tag. Thenofrixion-google-pay-buttonWeb Component has four parameters.paymentrequestid- This is the ID of the payment request that you created in the preconditions section.apiUrl- This property specifies the Nofrixion API URL depending on whether it is for Production/Sandbox.- **
errorDivID**- In case of Google Pay failures, errors can be displayed in the UI by passing in a div id.
<body>
<!-- 👇🏻 Use the Web Component where the Google Pay button will be injected -->
<!-- 1. Replace {YOUR_PAYMENT_REQUEST_ID} with the actual value you got from the Payment Request creation cal. -->
<!-- 2. Replace {YOUR_ERROR_DIV_ID} with a div Id where ou would like any errors to be displayed.-->
<nofrixion-google-pay-button
paymentrequestid="{YOUR_PAYMENT_REQUEST_ID}"
apiUrl="https://api.nofrixion.com/api/v1"
errorDivID="{YOUR_ERROR_DIV_ID}">
</nofrixion-google-pay-button>
</body><body>
<!-- 👇🏻 Use the Web Component where the Google Pay button will be injected -->
<!-- 1. Replace {YOUR_PAYMENT_REQUEST_ID} with the actual value you got from the Payment Request creation cal. -->
<!-- 2. Replace {YOUR_ERROR_DIV_ID} with a div Id where ou would like any errors to be displayed.-->
<nofrixion-google-pay-button
paymentrequestid="{YOUR_PAYMENT_REQUEST_ID}"
apiUrl="https://api-sandbox.nofrixion.com/api/v1"
errorDivID="{YOUR_ERROR_DIV_ID}">
</nofrixion-google-pay-button>
</body>Putting all the pieces together, the entire code should look like:
<!DOCTYPE html>
<html>
<head>
  <meta charset="UTF-8" />

  <!-- 👇🏻 Add NoFrixion JavaScript library  -->
  <script src="https://cdn.nofrixion.com/nofrixion-nextgen.js"></script>

</head>
<body>

  <!-- 👇🏻 Use the Web Component where the Google Pay button  will be injected -->
  <!-- 1. Replace {YOUR_PAYMENT_REQUEST_ID} with the actual value you got from the Payment Request creation cal. -->
  <!-- 2. Replace {YOUR_ERROR_DIV_ID} with a div Id where ou would like any errors to be displayed.-->
  <nofrixion-google-pay-button
      paymentrequestid="{YOUR_PAYMENT_REQUEST_ID}"
      apiUrl="https://api.nofrixion.com/api/v1"
      errorDivID="{YOUR_ERROR_DIV_ID}">
  </nofrixion-google-pay-button>

</body>
</html><!DOCTYPE html>
<html>
<head>
<meta charset="UTF-8" />
<!-- 👇🏻 Add NoFrixion JavaScript library -->
<script src="https://cdn.nofrixion.com/nofrixion-nextgen.js"></script>
</head>
<body>

  <!-- 👇🏻 Use the Web Component where the Google Pay button  will be injected -->
  <!-- 1. Replace {YOUR_PAYMENT_REQUEST_ID} with the actual value you got from the Payment Request creation cal. -->
  <!-- 2. Replace {YOUR_ERROR_DIV_ID} with a div Id where ou would like any errors to be displayed.-->
  <nofrixion-google-pay-button
      paymentrequestid="{YOUR_PAYMENT_REQUEST_ID}"
      apiUrl="https://api-sandbox.nofrixion.com/api/v1"
      errorDivID="{YOUR_ERROR_DIV_ID}">
  </nofrixion-google-pay-button>

</body>
</html>Example of how Google Pay button may look like on your website's checkout page.
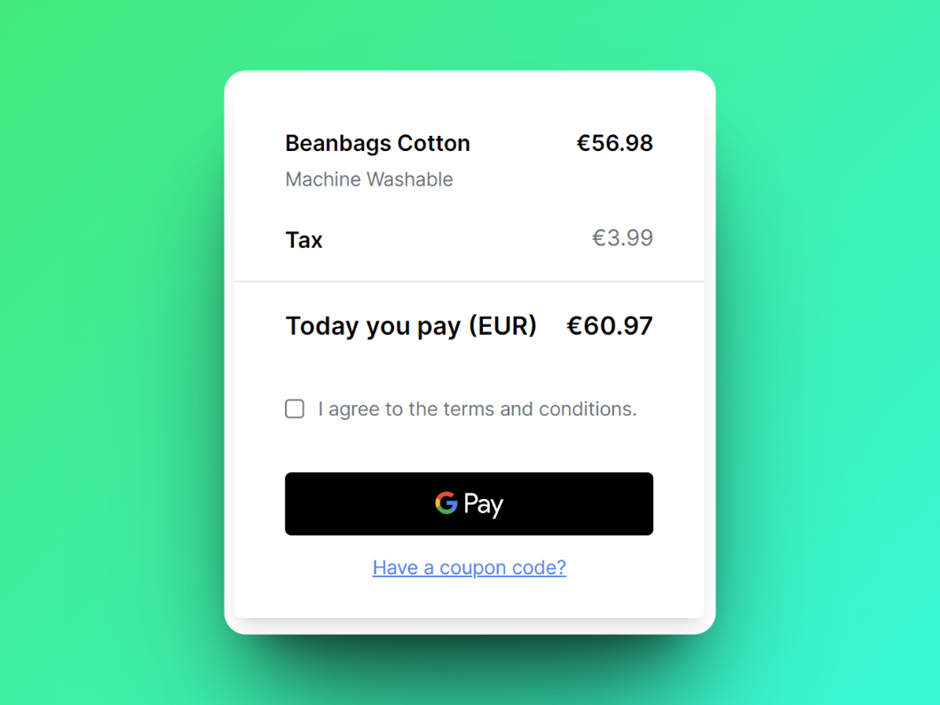
Google Pay Button in a checkout page
🧐 I still have questions
With this implementation, your website is now ready to accept Google Pay payments from your customers. If you have any questions or issues, please do not hesitate to reach out to our support team for assistance.
Updated over 1 year ago