Web Component - Get Paid by Bank
Implement custom bank buttons on your website using Nofrixion's bank web component.
Introduction
A pay by bank web component is a clickable button that features the logo or branding of the bank or payment provider being used. The button may be styled with a specific design that matches the overall look and feel of the website or platform where it is being used.
When the user clicks on the pay by bank button, they will be directed to a new page where they will be prompted to enter their banking login credentials or to authenticate their identity.
Once the payment is authorized, the user will be redirected back to the original website to receive a receipt or confirmation of the transaction.
Overall, a pay by bank web component is designed to be user-friendly, secure, and easy to use for anyone looking to make a payment from their bank account.

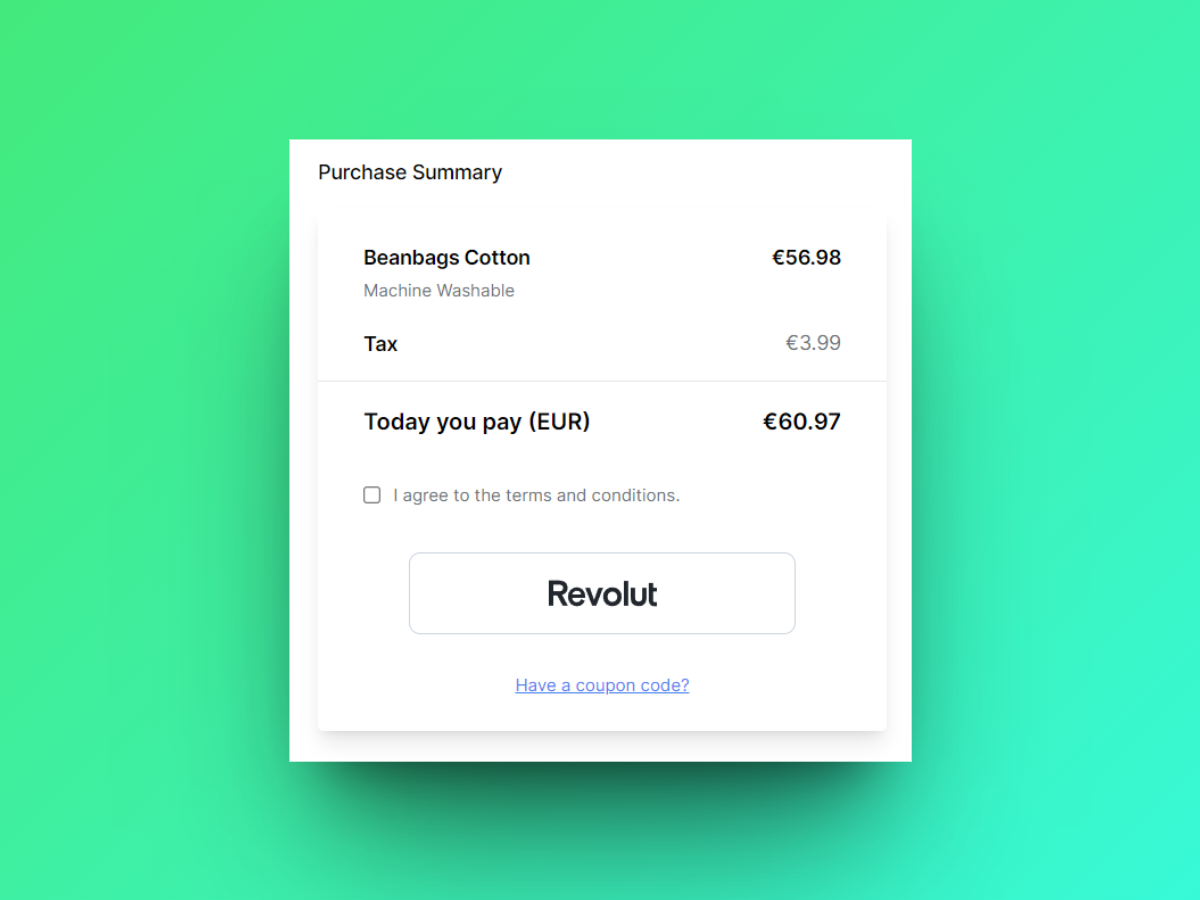
This is how a bank button can be displayed on your checkout page. Here is an illustration of a Revolut button.
Note that the URLs provided in this guide point to the Production environment, so make sure you're using the correct one (sandbox/production) accordingly.
| Production | Sandbox | |
|---|---|---|
| API | https://api.nofrixion.com | https://api-sandbox.nofrixion.com |
💻 Implementation Guide
ℹ️ Key concepts
Web components
Nofrixion uses Custom Elements, a part of the Web Components standard, to render individual bank buttons on websites. Custom Elements allow developers to define their own HTML tags with custom behavior and semantics, which makes it possible to create reusable, encapsulated components. By leveraging Custom Elements, Nofrixion provides a flexible and customizable solution for integrating bank buttons into web applications.
Payment Request
A Payment Request is an object that represents the merchant's intention to get paid, similar to an invoice. It contains information such as the amount, currency, and available payment methods. Since the Pay Element is the UX/UI representation of a Payment Request, you'll need to create one via an API call from your server, which will be used as a parameter when creating the Pay Element.
🔐 Security
Due to the high security standards required for handling transactions, the NoFrixion Pay Element provides a convenient way to handle sensitive payment details without storing them on merchant systems. When processing a card payment, the Pay Element communicates directly with our payment gateway, so merchant systems don't need to process or store card details.
📃 Preconditions
As mentioned in the Key Concepts, the NoFrixion Pay Element needs to be linked with a payment request. To create a Payment Request, you need to execute an API call from your system so that you can pass the payment request ID to the Pay Element. If you want to know how to do this, please click click here.
To make your life easier, here's a cURL command that you can copy and paste to create a Payment Request.
You'll need to replace {YOUR_MERCHANT_TOKEN} with your actual merchant token. Here is how to get your merchant token.
Note that the _PaymentMethodTypes _property of the payment request must include _"pisp"_ which stands for Payment Initiation Service Provider (PISP) in order to process payments through banks.
curl -s --location --request POST 'https://api.nofrixion.com/api/v1/paymentrequests' \
  --header 'Authorization: Bearer {YOUR_MERCHANT_TOKEN}' \
  --header 'Content-Type: application/x-www-form-urlencoded' \
  --data-urlencode 'amount=10.99' \
  --data-urlencode 'Currency=EUR' \
  --data-urlencode 'PaymentMethodTypes=pisp'
curl -s --location --request POST 'https://api-sandbox.nofrixion.com/api/v1/paymentrequests' \
--header 'Authorization: Bearer {YOUR_MERCHANT_TOKEN}' \
--header 'Content-Type: application/x-www-form-urlencoded' \
--data-urlencode 'amount=10.99' \
--data-urlencode 'Currency=EUR' \
--data-urlencode 'PaymentMethodTypes=pisp'🛠️ Step-by-step
-
The entire Pay by Bank logic, including security and rendering, is inside the NoFrixion Javascript library. You can find this library in NoFrixion's CDN at https://cdn.nofrixion.com/nofrixion-nextgen.js. Add this library to your
<head>tag.<head> <meta charset="UTF-8" /> <!-- 👇🏻 Add NoFrixion JavaScript library --> <script src="https://cdn.nofrixion.com/nofrixion-nextgen.js"></script> </head> -
To include a bank button on your website, utilize the
<nofrixion-bank>tag, and provide the following properties to the web component:-
bankname- Specify the name of the bank you want to display the button for. You can refer to the list of acceptable bank names available here. -
accounttype- This property allows you to choose between two values - personal/business. A personal account is for individual use, while a business account is intended for companies or organizations. -
paymentrequestid- This is the ID of the payment request that you created in the preconditions section. -
apiurl- This property specifies the Nofrixion API URL depending on whether it is for Production/Sandbox. -
errordivid- This is the ID of the<div>element where you would like any errors to be displayed.
Replace{YOUR_PAYMENT_REQUEST_ID}with the actual value you got from the Payment Request creation call (please read the Preconditions section) in the code below<body> <!-- 👇🏻 Use the <nofrixion-bank> WebComponent to render the bank button --> <nofrixion-bank bankname="{YOUR_BANK_NAME}" accounttype="personal" paymentrequestid="{YOUR_PAYMENT_REQUEST_ID}" apiurl="https://api.nofrixion.com/api/v1" errordivid="{YOUR_ERROR_DIV_ID}"> </nofrixion-bank> </body><body> <!-- 👇🏻 Use the <nofrixion-bank> WebComponent to render the bank button --> <nofrixion-bank bankname="{BANK_NAME}" accounttype="personal" paymentrequestid="{YOUR_PAYMENT_REQUEST_ID}" apiurl="https://api-sandbox.nofrixion.com/api/v1" errordivid="{YOUR_ERROR_DIV_ID}"> </nofrixion-bank> </body> -
-
After the user clicks on the "pay by bank" button, they are typically redirected to a new page where they may need to input their banking login information or authenticate their identity. The duration of this redirection may vary depending on the bank and there is a possibility of it failing. To inform the user of this process, it may be helpful to display a "Redirecting..." animation and stop it if the redirection fails. The
<nofrixion-bank>web-component has two events that can be utilized for this purpose:- The
onBeginRedirectToBankevent is triggered when the redirection to the bank commences. - The
onRedirectToBankFailedevent is triggered when the redirection to the bank fails.
Below is an example of how to utilize these events to display an animation:
let redirectingOverlay = document.getElementById("redirectingOverlay"); document.addEventListener("onBeginRedirectToBank", function (e) { redirectingOverlay.style.display = "block"; console.log("Redirecting... : " + e.detail.identifier); }); document.addEventListener("onRedirectToBankFailed", function (e) { redirectingOverlay.style.display = "none"; console.log("Redirect failed : " + e.detail.identifier); }); - The
For example, to display Revolut bank button on your website:
<body>

  <!-- 👇🏻 Use the <nofrixion-bank> WebComponent to render the bank button -->
  <nofrixion-bank bankname="revolut"
                  accounttype="personal"
                  paymentrequestid="{YOUR_PAYMENT_REQUEST_ID}"
                  apiurl="https://api.nofrixion.com/api/v1"
                  errordivid="{YOUR_ERROR_DIV_ID}">
  </nofrixion-bank>

</body>
<body>
<!-- 👇🏻 Use the <nofrixion-bank> WebComponent to render the bank button -->
<nofrixion-bank bankname="revolut eu sandbox"
accounttype="personal"
paymentrequestid="{YOUR_PAYMENT_REQUEST_ID}"
apiurl="https://api-sandbox.nofrixion.com/api/v1"
errordivid="{YOUR_ERROR_DIV_ID}">
</nofrixion-bank>
</body>Styling the Pay by Bank button
When using the <nofrixion-bank> tag to display the pay by bank button, no default styles are applied. This means that the button appears as a simple logo of the bank without any additional styling. Therefore, you have the flexibility to customize the appearance of the button to your liking.
To demonstrate, consider the following example of how you can apply styles to the pay by bank button:
<body>

  <!-- 👇🏻 Use the <nofrixion-bank> WebComponent to render the bank button -->
  <nofrixion-bank class="bankButton"
                  bankname="revolut"
                  accounttype="personal"
                  paymentrequestid="{YOUR_PAYMENT_REQUEST_ID}"
                  apiurl="https://api.nofrixion.com/api/v1"
                  errordivid="{YOUR_ERROR_DIV_ID}">
  </nofrixion-bank>

  <style>
    .bankButton {
        padding-top: 0.5rem;
        padding-bottom: 0.5rem;
        border-radius: 0.5rem;
        border-width: 1px;
        border-color: #cbd5e0;
        width: auto;
        transition-duration: 0.2s;
        transition-timing-function: ease-in-out;
        border-color: #cbd5e0;
      }
      .bankButton:focus {
        border-color: #a0aec0;
      }
      .bankButton:hover {
        border-color: #a0aec0;
      }
  </style>

</body>
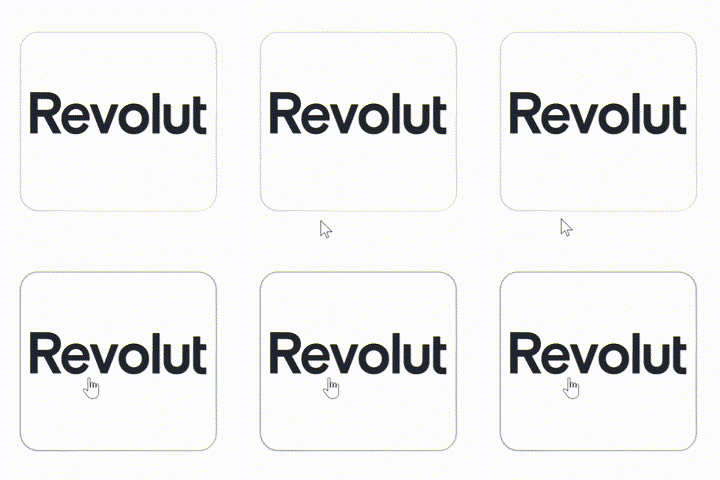
An example of how you may style a Revolut pay by bank button
🧐 I still have questions
With this implementation, your website is now ready to accept Apple Pay payments from your customers. If you have any questions or issues, please do not hesitate to reach out to our support team for assistance.
Updated 12 months ago
