
Embedded - Pay Element with Pay by Bank only
Implement and use NoFrixion Pay Element with Pay by Bank only in your web page to allow your customers to complete a payment flow.
👋 Introduction
In this guide we will look at how to implement NoFrixion Pay Element with Pay by Bank only.

Pay Element with Pay by Bank only
💻Implementation Guide
ℹ️ Key Concepts
Payment Request
A Payment Request is an object that represents the merchant's intention to get paid, similar to an invoice. It contains information such as the amount, currency, and available payment methods. You can create a Payment Request via an API call, you can find more details here Creating and managing payment requests.
Payment Method Types
NoFrixion Pay Element supports multiple payment method types such as Cards, Bitcoin Lighting (soon) and Pay by Bank also known as Payment Initiation Service (PIS). The Pay Element can be loaded in any combination of these options by setting the needed parameters in the creation of the Payment Request that is used to render the Pay Element.
📃 Preconditions
Payment Request
In order for us to use the Pay Element with Pay by Bank option as the only payment method available for the user, we first need to create a Payment Request with the corresponding parameters explained on this guide. If you want to know more about create Payment Request click here. The Id of the Payment Request will be used as a parameter when creating the Pay Element.
🛠️ Step-by-Step
Step 1 - Create Payment Request for Pay by Bank only
As we discussed above the Pay Element can be configured for multiple payment method types. We need to create a Payment Request with the payment type pisp . This will render the Pay Element with Pay by Bank only.
The code below will create a Payment Request. The key parameter is PaymentMethodTypes and we will set the value to pisp. We will record the paymentRequestId, which will be used in the next step.
# Create a new payment request with "pisp" set as the payment method.
paymentRequest=$(curl --request POST \
     --url https://api.nofrixion.com/api/v1/paymentrequests \
     --header "Authorization: Bearer $NOFRIXION_JWT" \
     --header 'accept: application/json' \
     --form 'amount=2.00' \
     --form 'currency=EUR' \
     --form 'paymentMethodTypes=pisp' \
     --form 'callbackUrl=https://api.nofrixion.com/pay/result/{id}')
# Create a new payment request with "pisp" set as the payment method.
paymentRequest=$(curl --request POST \
--url https://api-sandbox.nofrixion.com/api/v1/paymentrequests \
--header "Authorization: Bearer $NOFRIXION_JWT" \
--header 'accept: application/json' \
--form 'amount=2.00' \
--form 'currency=EUR' \
--form 'paymentMethodTypes=pisp' \
--form 'callbackUrl=https://api-sandbox.nofrixion.com/pay/result/{id}')You can also follow our recipe Payment Initiation Service Payment to create a Payment Request for Pay by Bank only.
Step 2 - Load NoFrixion Pay Element for Pay by Bank only
NoFrixion Pay Element is a fully managed UI component that can be displayed in a merchant's checkout process. It provides a seamless solution to ecommerce payments.
To render the Pay Element, use the code below and replace the YOUR_PAYMENT_REQUEST_ID with the paymentRequestId from our previous step. Please follow this detailed guide on the Pay Element for more details.
<!DOCTYPE html>
<html>
  <head>
    <!-- 👇🏻 Add NoFrixion JavaScript library  -->
    <script src="https://cdn.nofrixion.com/nofrixion-nextgen.js"></script>
  </head>
  <body>
    <!-- 👇🏻 Create <div> tag where Pay Element will be injected -->
    <div id="nf-payelement"></div>

    <!-- 👇🏻 Add script which will be in charge of injecting the Pay Element onto the <div> -->
    <script>
      window.onload = function() {
        var paymentRequestID = '{YOUR_PAYMENT_REQUEST_ID}';
        var nfPayElement = new NoFrixionPayElement(
          paymentRequestID,
          'nf-payelement',
          'https://api.nofrixion.com');

        nfPayElement.load();
      }
    </script>
  </body>
</html>
<!DOCTYPE html>
<html>
<head>
<!-- 👇🏻 Add NoFrixion JavaScript library -->
<script src="https://devnofrixion.azureedge.net/nofrixion-nextgen-sandbox.js"></script>
</head>
<body>
<!-- 👇🏻 Create <div> tag where Pay Element will be injected -->
<div id="nf-payelement"></div>
<!-- 👇🏻 Add script which will be in charge of injecting the Pay Element onto the <div> -->
<script>
window.onload = function() {
var paymentRequestID = '{YOUR_PAYMENT_REQUEST_ID}';
var nfPayElement = new NoFrixionPayElement(
paymentRequestID,
'nf-payelement',
'https://api-sandbox.nofrixion.com');
nfPayElement.load();
}
</script>
</body>
</html>As we only set PaymentMethodTypes as pisp we can only see the option Pay with your bank .
The example below shows how the Pay Element will look. To reveal the banks just tap or click depending if your using mobile or desktop on the Pay with your bank tab.
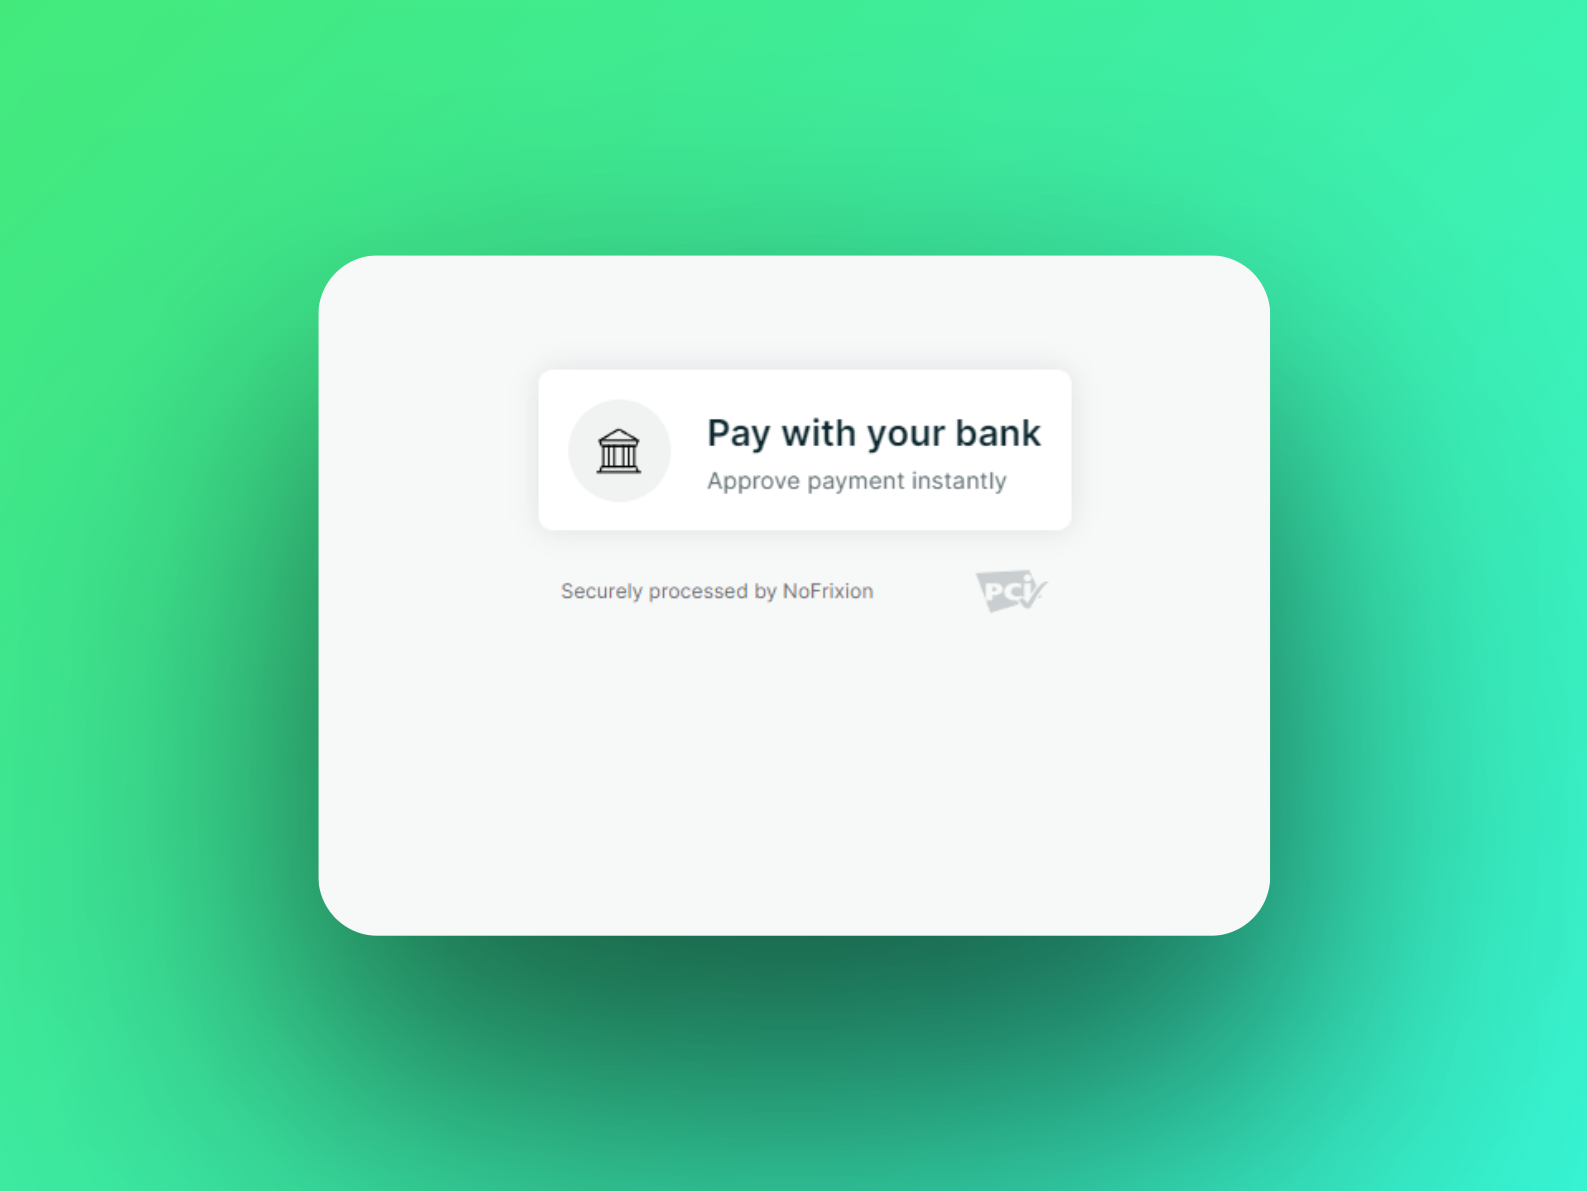
You have just implemented Pay by Bank with NoFrixion Pay Element.
➕ Additional Information
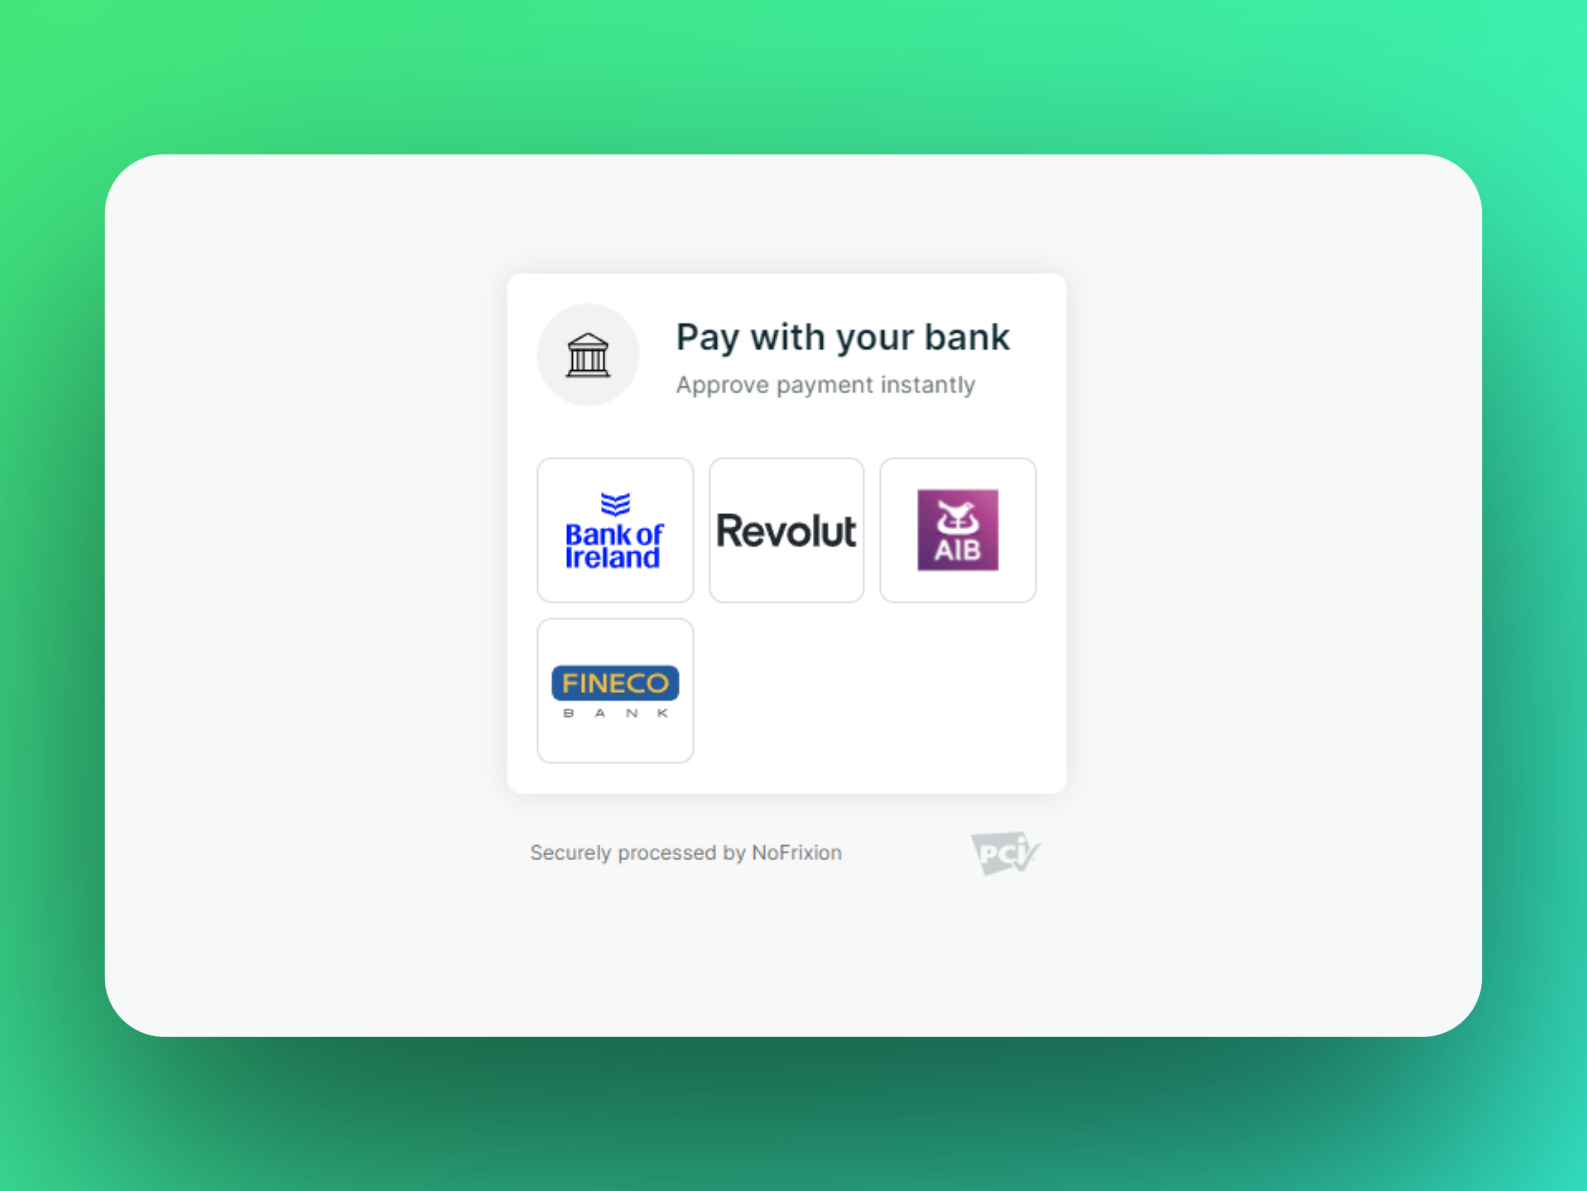
We can now see a list of banks. The list of banks may vary depending on your configuration. The example below uses the default configuration.
Note: The list of banks displayed in the Pay Element is configurable. This can be configured during the onboarding process or at the request of a merchant. If no banks are configured default banks will be displayed.
To complete a payment from here just click on a bank of your choosing, this will trigger a payment initiation process with your chosen bank.
Pay Element with Pay by Bank only
🧐 I still have questions
We hope that this guide has been helpful to you in implementing Pay by Bank with NoFrixion Pay Element. If you have any further questions or issues, please do not hesitate to reach out to our support team for assistance.
Updated over 1 year ago